Knobs, pulls, and handles do more than just open and close your cabinets—they also add personality to your kitchen’s style. While installing these pieces may seem simple at first, it’s easy to make mistakes that can result in crooked, damaged, or unattractive hardware.
Let American Wood Reface be your guide! We’ll walk you through the common mistakes to avoid when installing cabinet hardware and share some expert tips to help you achieve a polished and professional finish.
Mistake #1: Incorrect Placement and Alignment
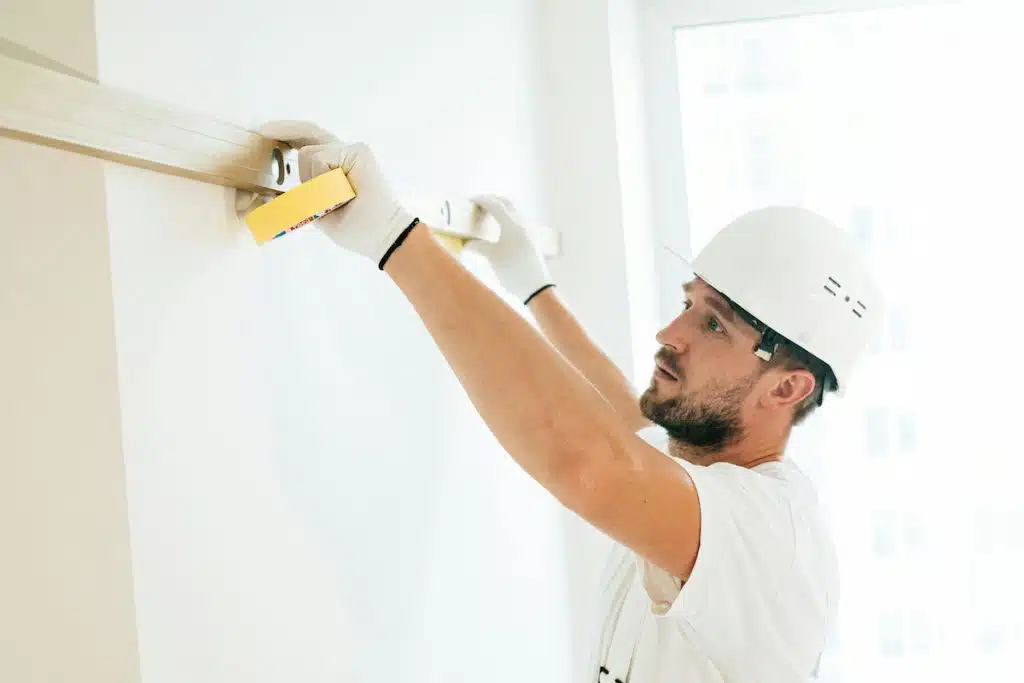
Placement is a detail that you must not ignore. Do you want the hardware on the top edge of the door? Perhaps at the bottom corner?
No matter where you want them, the aim is to install them in a place that looks good and is comfortable to use. You definitely don’t want to end up with achy fingers from opening and closing cabinets. So, be sure to plan carefully and take measurements before drilling any holes.
Using a template or jig is an essential professional cabinet hardware installation tip that can make things manageable. It helps you keep everything aligned and spaced just right, saving you from the frustration of making multiple measurements.
Mistake 2: Skipping the Pilot Holes
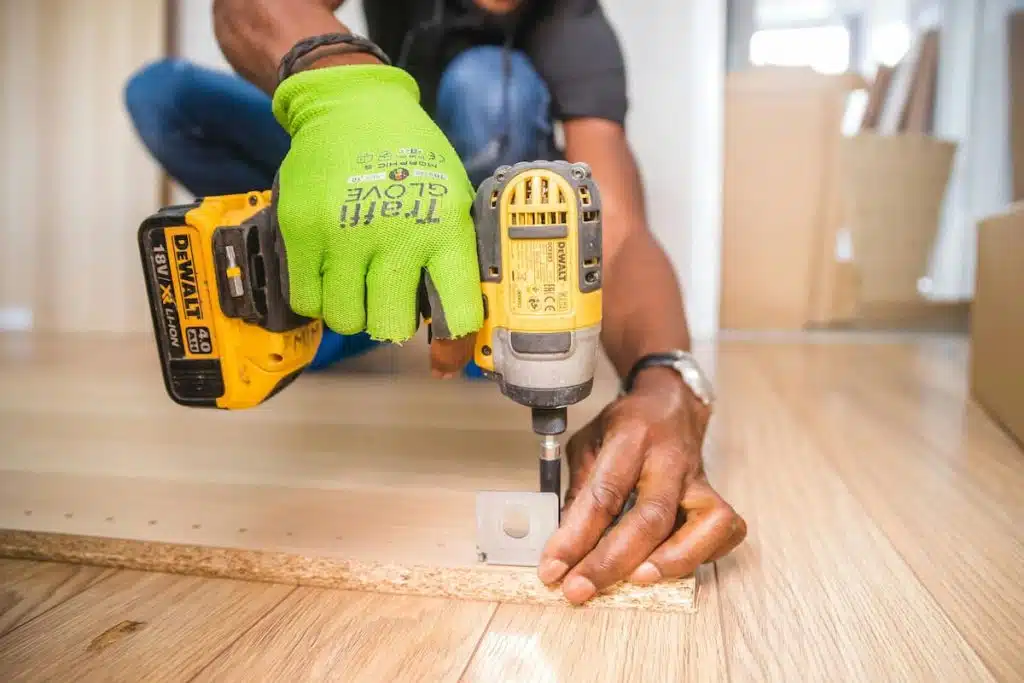
Pre-drilling holes before installing cabinet hardware is an important step to avoiding installation errors. Failing to create a pilot hole before drilling in screws can lead to wood cracks, hardware misalignment, and a weak connection between the screws and the material.
Getting the right drill bit size ensures that your screws fit just right. A good rule of thumb is to pick a size that works well with your screw. If you’re not sure which drill bit size to use, go with one that’s 1/64 inch larger than the diameter of the screw’s shank (non-threaded portion).
Pro tip: Before using the drill bit on the actual cabinet material, test it on scrap wood. This extra step will help ensure that the bit won’t cause damage or cracking on your cabinet.
Mistake 3: Using the Wrong Hardware for the Material
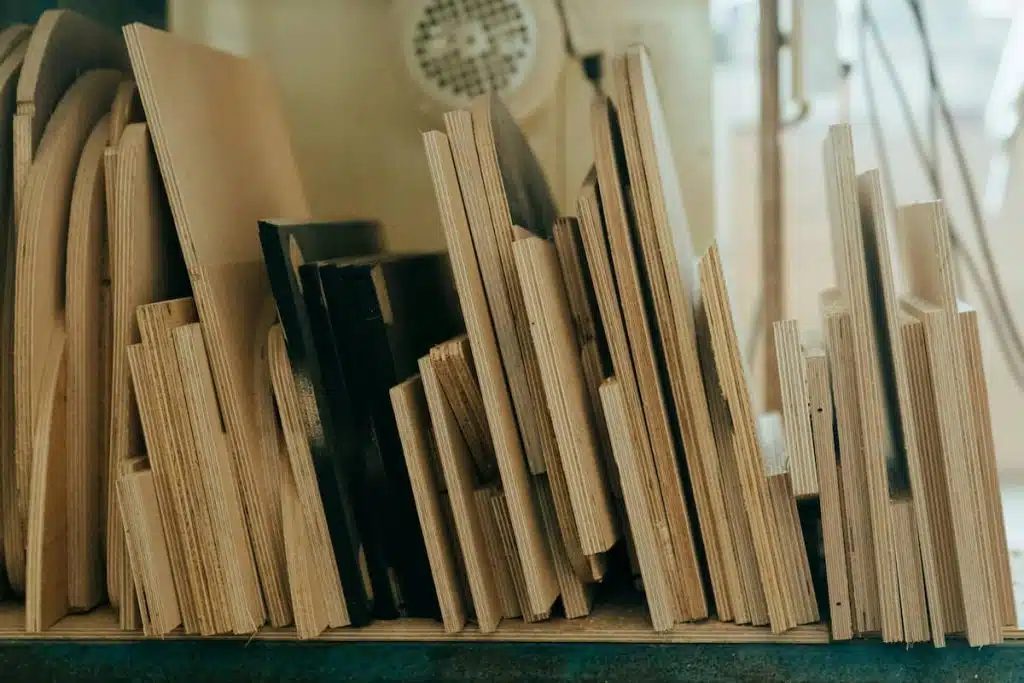
Screws and fasteners come in a myriad of sizes, shapes, and materials, each designed for a specific purpose. One common mistake homeowners make when installing cabinet hardware is using the wrong screws or fasteners, leading to loose hardware, stripped screws, or even damage to the cabinet surface.
So, before starting the installation, one of our cabinet hardware installation tips is to choose the hardware compatible with your cabinet material—be it solid wood, medium-density fiberboard, or particleboard—to guarantee a durable and secure installation.
Mistake 4: Overlooking the Style and Size of Hardware
Choosing the right cabinet hardware can make a difference in how your space looks and feels. It’s all about finding hardware matching your cabinets’ style and color to create a beautiful and cohesive look.
One of the common mistakes to avoid when installing cabinet hardware is selecting hardware that is either too big or too small for the cabinets. Large pulls on small cabinets can overpower the design, creating a bulky feel to the space. Conversely, hardware that is too small can disappear on larger cabinets, leading to a loss of visual balance and practicality.
Creating a cohesive look for your space is also essential. However, consider how the hardware complements your space’s existing design rather than just aiming for a perfectly matching look.
For a unique and customized approach, try to find the right balance of colors and finishes without going overboard. For example, warm-toned hardware like copper goes well with earthy colors, whereas silver-tone finishes like chrome and nickel work best with cool colors.
Mistake 5: Rushing the Installation Process

One of the most common mistakes during cabinet installation is rushing through the process, which can lead to significant issues such as misaligned hardware, uneven placement, or even damaging the cabinets themselves. While it may be tempting to speed things up and complete the renovation as soon as possible, haste can cause avoidable and costly errors.
Taking a meticulous approach to installation not only prevents mistakes but also ensures a high-quality, professional-looking finish. Properly installed cabinets enhance both the appearance and functionality of your space. Careful measuring, consistent use of a level, and double-checking placements before drilling or attaching hardware are essential.
To avoid feeling overwhelmed, consider breaking the installation into manageable phases. Tackling it one step at a time allows you to focus on precision instead of rushing and potentially making mistakes that could be difficult or expensive to fix later.
Tips for a Successful Cabinet Hardware Installation
Before diving into cabinet hardware installation, it’s essential to prepare your tools for a smooth, efficient process. Having everything ready will help you avoid unnecessary interruptions.
Here are the tools you’ll need for a successful installation.
- Drill
- Level
- Tape measure
- Placement template
- Appropriate screws and bits for your hardware and cabinet material
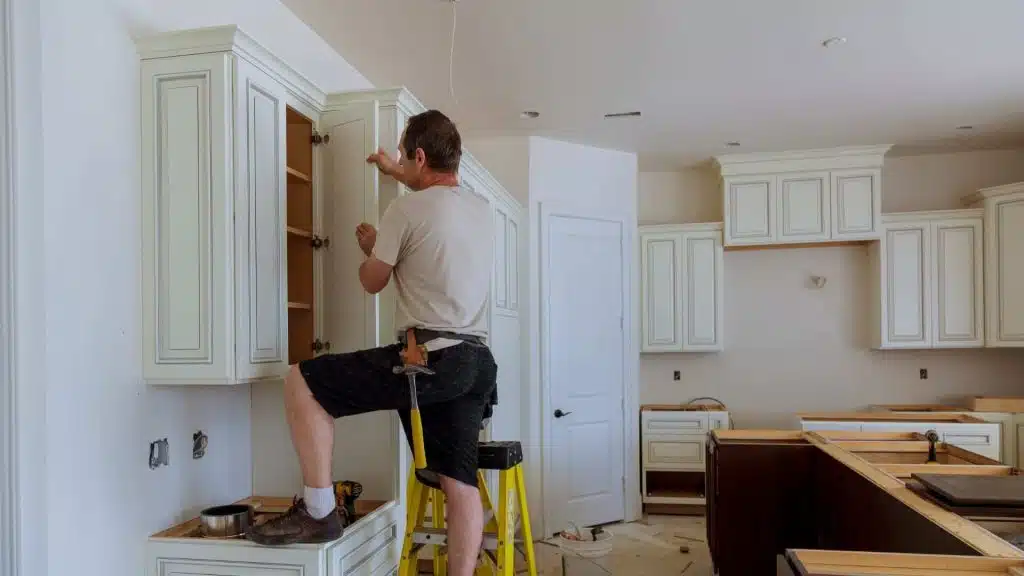
An organized workspace is just as important as the right tools. Clear your area of clutter, make sure all tools are within easy reach, and set up a clean, flat surface for measuring and aligning the hardware. This setup will help streamline the installation and reduce errors.
Before installing hardware on all the cabinets, test the placement on a single cabinet. This trial run ensures you’re satisfied with the positioning, look, and functionality of the hardware. Minor adjustments at this stage can make a big difference in achieving the look you want.
Takeaway
Careful planning, precision, and patience are key to achieving a professional hardware installation. By following these tips and being aware of common mistakes to avoid when installing cabinet hardware, you can achieve a successful result.
If you want to avoid costly errors from complex installations, let American Wood Reface handle the job. We specialize in refacing kitchen cabinets using premium 1/4″ solid wood. Our refacing service doesn’t just update cabinet boxes and face frames; we also replace old or worn-out hardware with stylish new ones.
Ready to give your kitchen a fresh look? Book your free consultation today!
